
Underfloor heating manifold step by step
The manifold distributes water to the underfloor heating loops. You need isolation valves with thermometers, Eurocones for each loop, actuators for control and a cabinet. Tap or click a number to see the matching products.
Tap or click a number in the diagram to jump to the matching product below.
Step 1: manifold and isolation valves

1Stainless steel underfloor heating manifoldDistributes water to the loops; the flow meters are used to balance the floor temperature.View products →
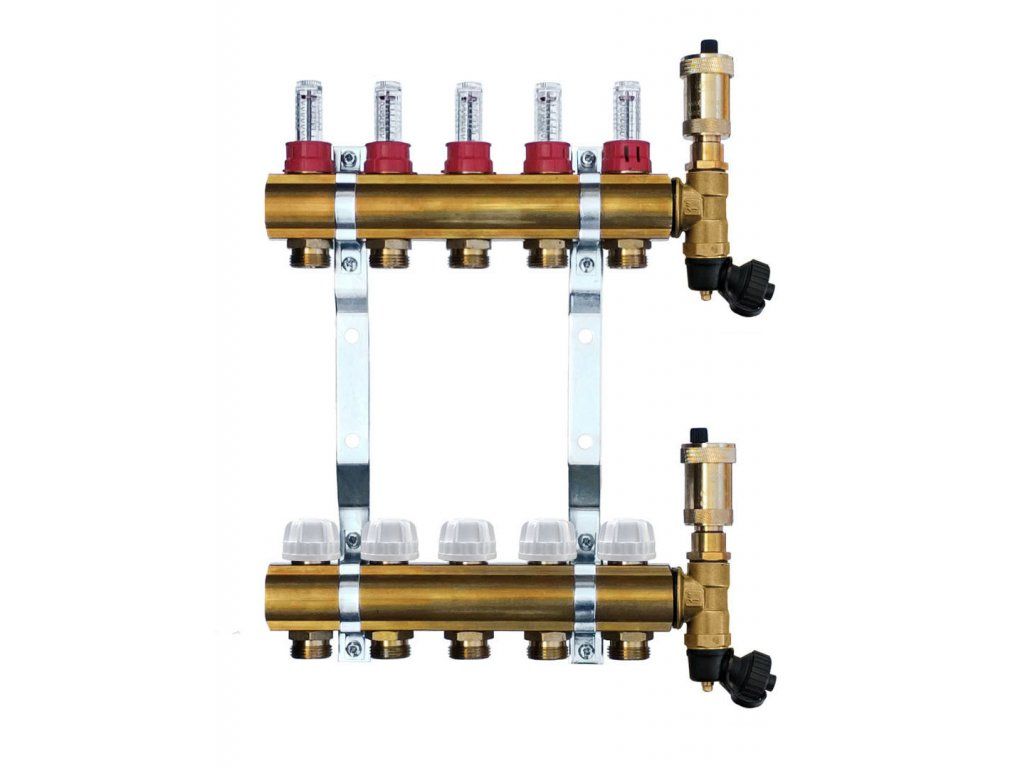
IVAR brass manifoldsProfessional brass manifolds for underfloor heating.View products →

3Ball valve with thermometer – flowFlow isolation valve with thermometer (red butterfly handle).View products →

4Ball valve with thermometer – returnReturn isolation valve with thermometer (blue butterfly handle).View products →
Step 2: loop connection

5Compression fitting (Eurocone) 16×2Connects the loop pipe to the manifold – two per loop.View products →

12Automatic air ventReleases air from the loops at the end of the manifold.View products →
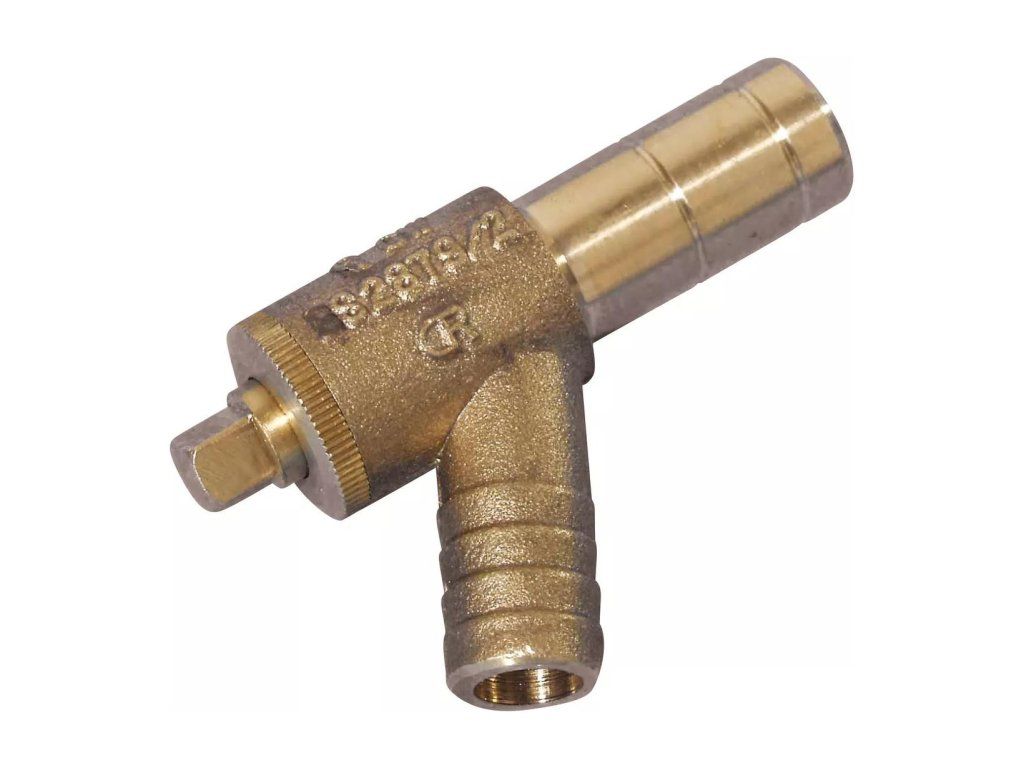
13Drain valveFor filling and draining the loops.View products →

14PEX-AL-PEX 16×2 pipePipe for underfloor heating loops.View products →
Step 3: loop control

6Electrothermal actuator 230 VOpens and closes individual loops according to the room thermostats.View products →

Electrothermal actuator 24 VActuator version for 24 V control.View products →

8PH-HT21 thermoelectric actuator controllerWiring centre connecting the thermostats to the actuators on the manifold.View products →

9PNI CT26W WiFi thermostat with floor sensorControls both room and floor temperature.View products →
Step 4: housing

10Manifold cabinetRecessed cabinet to house and cover the manifold.View products →

11Manifold mounting bracketHolds the manifold in the cabinet or on the wall.View products →
More diagrams: related products for boilers, underfloor heating. Need help? Write to us at info@atria.sk.